Monday, July 22, 2024

Jade Green Gown Finished!

As I mentioned earlier, I'm not too into bridal so I picked a gorgeous jade green silk tissue taffeta to complete this gown.  The dress required 3/4 of a yard of fabric and it was a lot of work from start to finish.  I'll share a few pictures of the making of it before I get to the rest of the models.  

I constructed the lining first and, in the process, decided that the sleeves needed a bit more ease in the cap so I recut them.  

Lining is done and fit to my old yellow beat up Gene who now works as my fit model.  I like to use a lighter color lining material to hopefully prevent discoloring of the doll.  
The bodice is completed and the zipper is set in.  The lining has to be hand stitched to the dress around the zipper.  Because of the zipper and the way this constructed, I also had to hand stitch the bottom sleeve edges together.  Usually that's done before sewing the side seams but because of the back being stitched closed, I couldn't make it work. 
Now I have to sew the front and back flounces together and gather them into the upper skirt.  
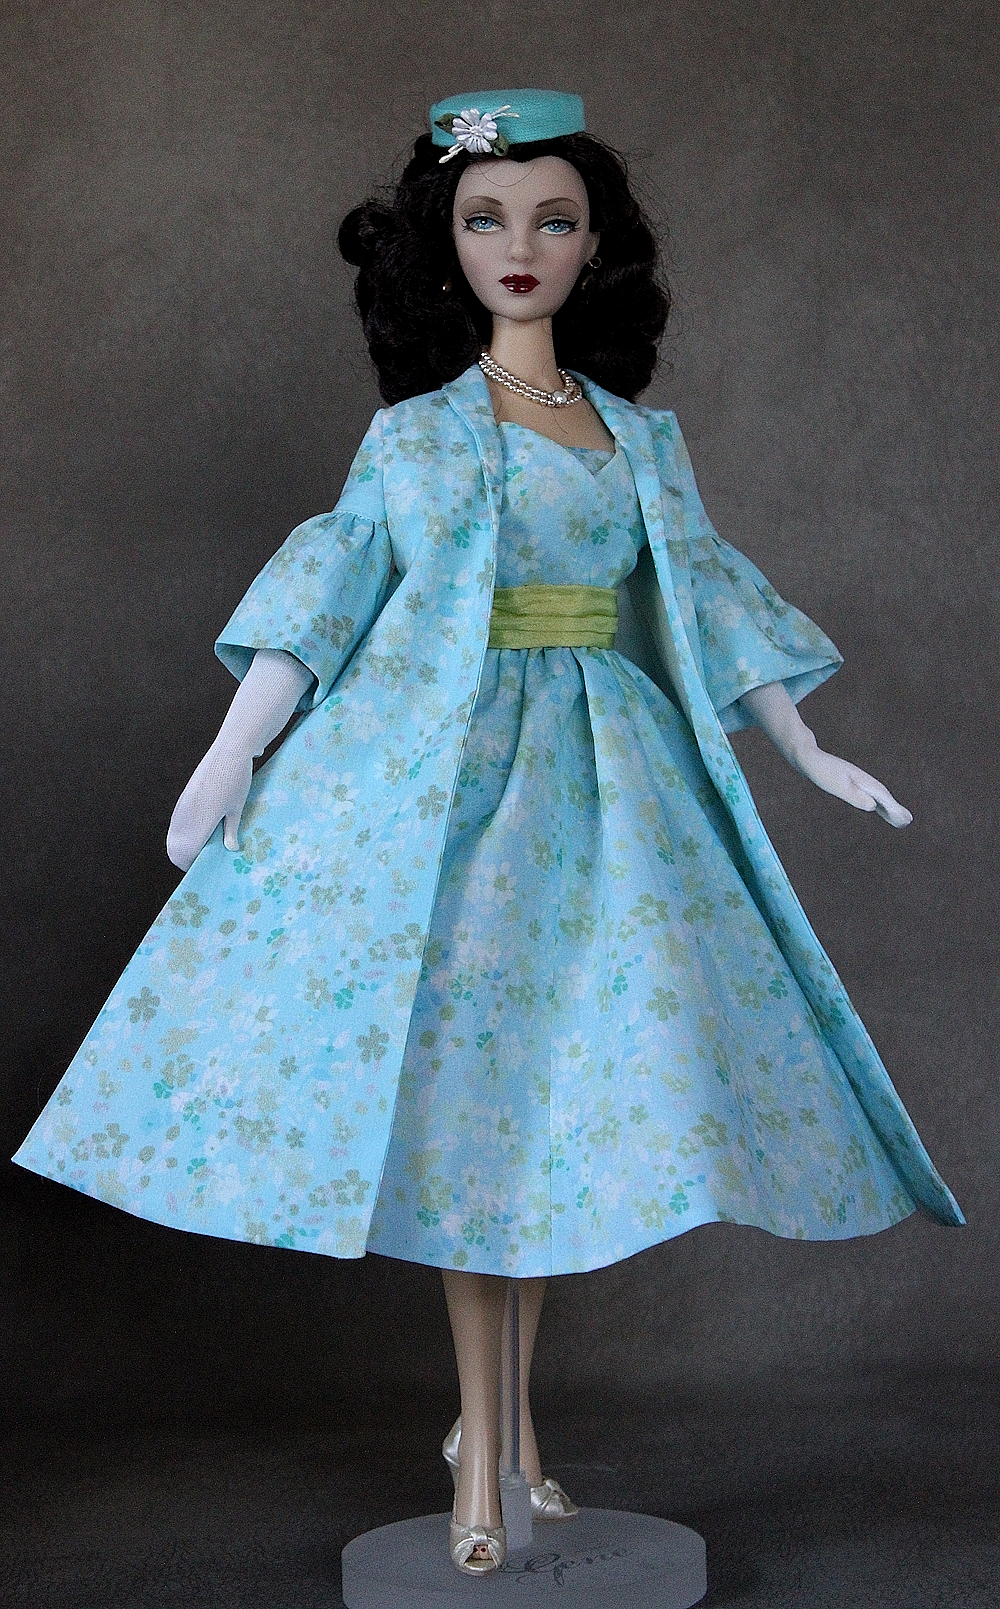
The flounce is sewn to the gown and the lining is pinned in place ready to be hand stitched to the dress.  After hemming, I added a little rhinestone brooch at the neck.  Underneath the skirt is a two-tiered tulle petticoat to give it fullness.  Of course, there had to be an accessory so I went with a hat made from the same silk.  The hat is wired inside to shape to the head and is trimmed with silk ribbon, a rhinestone ornament and a feather.  Gown and hat are available for $250 plus $6 boxed shipping in the US.  Email me at nwickman@chartermi.net if interested.  Now onto the finished dress as modeled by Jamieshow Liz.  The back is really dramatic.  


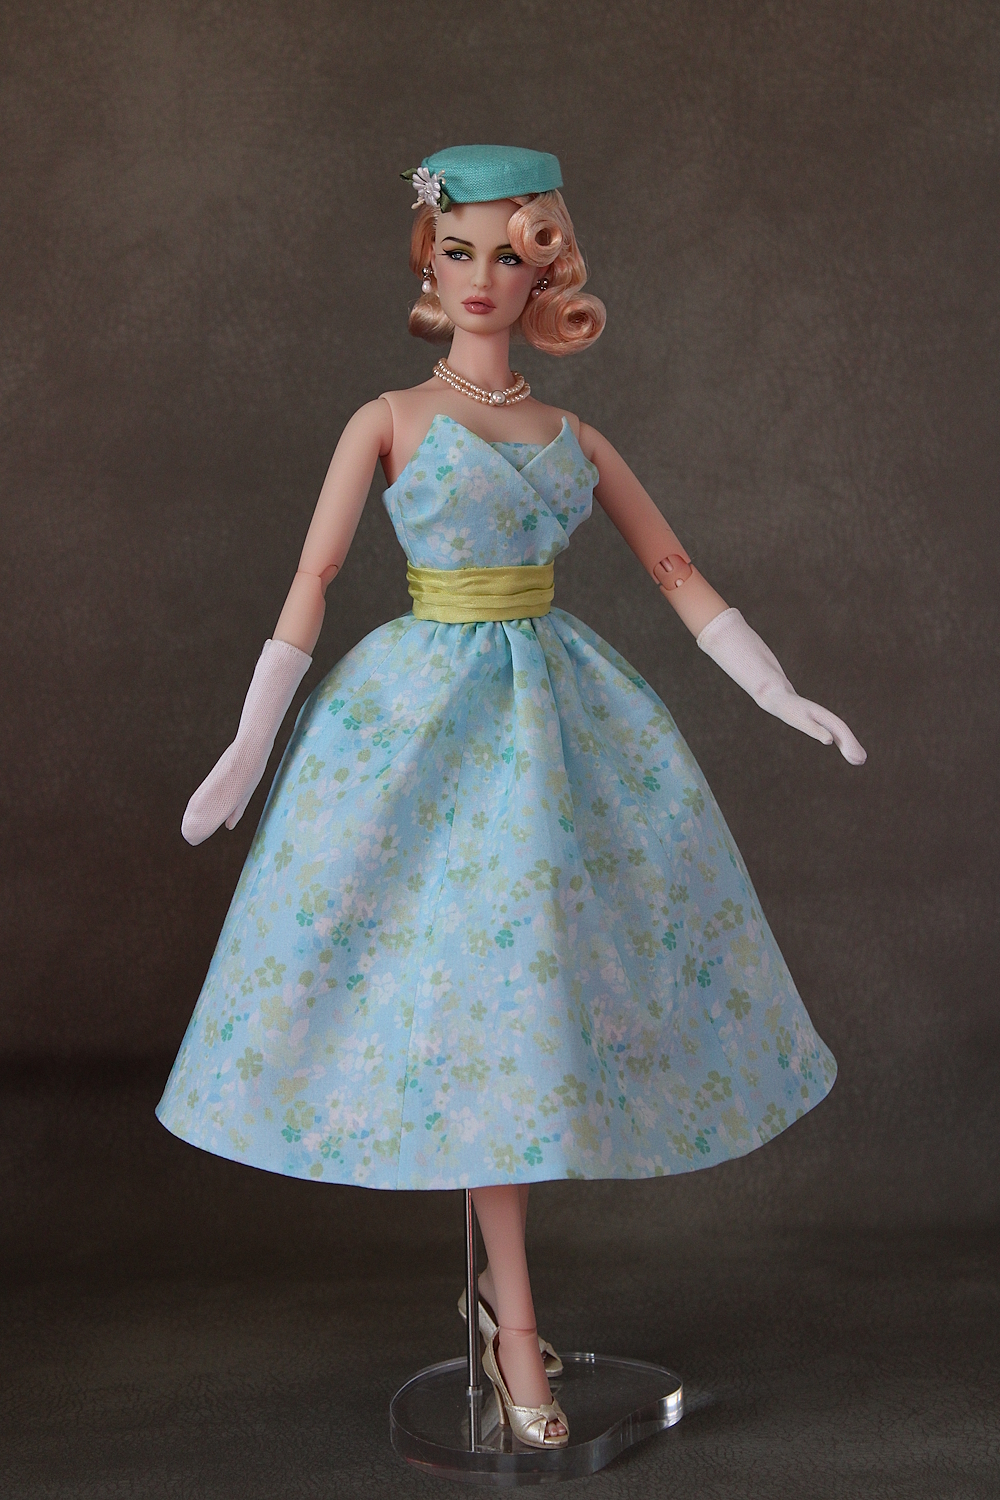
And here it is being modeled by Gene.  


Tuesday, June 18, 2024

Pattern-Making Part 2--The Muslin

Time to try out the pattern and see where it needs adjusting.  I'm just using a piece of white cotton here.  The side back and back went together well.  The side front needed a little adjustment at the armhole.  Nothing major.  

But after I fit it to the doll, it was gaping at the armhole so I ripped it out almost to the dart to take in the side front.  
The new seam pinned.  I took the extra fullness only out of the side front piece and the corresponding pattern piece.   

Fits much better in the armhole area now.  I didn't change the dart points on the muslin but I did on the pattern.  The side seams are basted together for a fitting..  I decided that it needed to be nipped in at the waist a bit and at the top of the center front just a tad.  At this time I also decided I wanted to widen the neckline and drew it on with a heat erasable marker. 

I also decide to nip in the waist in the back just a bit.  Other than that, I'm happy with the way the back is fitting.  I cut a 3/8" seam for the back opening because I plan to put a zipper in this one.  Shout out to Tamara Casey of Fletcher Pattern Company.  She's the only one I know of who sells 12" zippers.  The standard 4 1/2" just isn't long enough.  
I've redrawn the new neckline and trimmed the pattern pieces where I nipped in the waist.  You can see the new dart drawn on the front piece.  

To try out the collar, I just trimmed away all of the seam allowances except for the neck edge.

  I stitched the collar to the right side of the bodice , clipped the seam and then top-stitched the seam allowance down to the inside.  
With the doll on the stand, I realize that I need to add more length as I plan on a petticoat under the dress.  So I added another 7/8",  which included a small rolled hem.  I only plan to line this as far down as the flounce.
With everything but the bust dart adjusted, I'm pretty satisfied with the fit now but I'm still wondering if I should lower the vee of the neckline a little more.  I didn't bother with the back flounce because I know it's going to be longer than the front, and you can see that it's going to be a very full, dramatic skirt.  My measurements are accurate so I'm not too concerned about the sleeves fitting either so I didn't set those in.  The bodice was my main focus.  
But when looking at the back and gauging that the flounce starts below her knees, I decide to lengthen the upper skirt pieces to create more of a sweep in the back.  Also, looking at the picture of the original dress, the length of the upper skirt and the length of the flounce appear to be about equal. 

 So I taped pieces of my paper to the bottoms and drew a new cutting line.  So that's about it.  Hours of work put in already and I haven't even cut out the actual dress.  I think this would be really pretty in silk tissue taffeta and it's going to take close to a yard.  But what color to use?  I have white but I'm not really big into bridal.  I'm thinking a jewel tone would give it drama.  What do you think?  


Sunday, June 16, 2024

Pattern-Making for Dolls

 The subject of making doll patterns derived from human patterns came up recently in a Facebook group I belong to.  The first thing to realize is dolls are not proportioned like real humans.  I had a pattern I wanted to customize to Gene size so I took some pics along the way to show you my process.  It's not as straightforward as simply enlarging the pieces.  

This is the design I chose to work on where I also had pics of the pieces from the pattern envelope.  Not the easiest one in the world.  
I started by enlarging the pieces 200% on my printer to make them easier to measure.  The measurements I start with are across the back, and shoulder point to shoulder point.  Some people are smart enough to do this digitally but I use a proportional scale and enlarged all the pieces again to the back measurements I want.  This is important because human patterns are usually designed for a B cup---and Gene is definitely not a B cup.  So if you use her entire bust measurement as your guide, the back of the garment will be way too big for her.  So I fit the back first and make adjustments to accommodate the larger bust. 

The first thing I need to do is lengthen the waist line-in this case 5/8" based on center back and underarm measurements.  I slashed the pattern pieces at the waist and spread them.  The pieces are taped to examining table paper (thanks to Missy's Imaginings for that idea).  It's somewhat transparent which helps fit the pieces to each other.  If you carry the lines down from the bodice, you get pretty close to Gene's back waist measurement.  But you can see where I've made small adjustments.  Since this is a full skirt, I'm not worried about the hip measurement.  

This is where I run into my first issue.  The skirt pieces line up and match in the length but the bodice pieces don't line up at all,  So I had to redraw the armhole as well as take in the side seam based on Gene's back measurement from underarm to underarm.  
Her are the finished back and side back patterns with seam allowances added.  You will always need to lengthen the skirts for dolls as they have proportionately longer legs.  So I measured down from her waist to where I thought I wanted the flounce to start.  Normally you would slash and spread the skirt to the desired length but I want this skirt to be really full so I just continued the original lines.  
I followed the same procedure with the side front, making sure that the side seam matches the back.  The front is a lot trickier.  I had to lengthen the waistline more that 5/8" because of the larger bust.  Measure from the shoulder over the bust to the waist to get this measurement.  The extra length will be taken up with a bigger dart.  You can see from the picture that I needed to establish a new dart point.  The three measurements for this are bust point to bust point, shoulder to bust point, and bust point to waist.  Then I measure the side front seam from the waist up to determine how much I needed to take out in the dart.  You'll notice that I slashed and spread the front bodice.  This was done for two reasons.  One is to give me the extra width I needed across the front due to the bigger bust.  Measure from the underarm to underarm across the fullest part of the bust for this.  The other reason is that the shoulder seams didn't match.  I lengthened the skirt to match the side front as well.  Remember to constantly measure all the seams against the pieces they connect to.  
The finished front lengthened and with seam allowances added.  The original dress had a separate side flounce piece but I decided to do it in one piece.  Not shown:  I decided I wanted this part of the flounce wider so I slashed and spread it out more.   I also combined the back and side back flounces into one piece.  

I kept the original sleeve cap after measuring it against the armhole opening.  The sleeve cap should be slightly longer to be eased into the armhole.  Obviously the original sleeve had an elbow dart which I left out.  The measurement around the upper arm was good but sleeves have to be lengthened as well.  Measure around the doll's hand to make sure the sleeve will fit over it.  I add a little ease here to account for seams and lining.  

Collar pieces often don't fit and since I lowered the neckline a little, I knew this one would need adjusting.  Walk the collar piece around the neckline.  I made a mark where it meets the should seam.  You can see that I needed to extend it to fit around the back neck seam.  So this is what I spent my whole Friday afternoon doing.  But I still won't cut this out of silk fabric without making a muslin of it first.  It should be close but will undoubtedly need tweaking.  I'll take some photos of that process and let you know how in goes in the next post.  


Friday, April 26, 2024

Vintage Rose Floral Dress for Gene

SOLD  Thanks! Another vintage replica using a very vintage-y looking cotton lawn.  (Inspiration pic at end.)  To me, this fabric, with the roses, captured the feel of the original if not the exact color.  The bodice is shirred on one side with a bit of piping detail and three tiny bows.  The full skirt is about one yard around the bottom and has a built in tulle petticoat to keep it poofy.  This one closes with snaps in the back.  Available for $130 plus $6 boxed shipping in the US.  Email me at nwickman@chartermi.net if interested.  


Black Lace Vintage Repro for Gene


SOLD  Thanks!  Recently someone in a Gene Facebook group I belong to posted an inspiration pic of a 1953 Sophie of Saks Fifth Ave. dress (see below) stating I need this for Gene!  I was really intrigued by the design.  I just happened to have this piece of black lace from Frenchfashions.net and some cream silk tissue taffeta so spent some time making the pattern.  The original was described as having a skirt studded with bands of sequins and rhinestones. That might have been a little over the top in miniature but I did spend several hours studding the skirt with tiny black sequins and size 15 seed beads before lining it. I do have some little sew-on rhinestones but they stick out from the fabric quite a bit so I only use them in moderation. The skirt has center and side panels as the original did. The belt is a separate piece and the bow ends are incorporated into the belt. I thought that would be the best way to reduce bulk and it worked well. The dress closes in back with snaps and the belt closes with one snap. This will be a OOAK as she no longer has this lace available. Dress is available for $180 plus $6 boxed shipping in the US. Email me at nwickman@chartermi.net if interested.


Monday, April 1, 2024

Recycled Silk for Gene

 SOLD  Thanks!  This started out as an old silk camisole from my closet and ended up as a darling dress for Gene.  So this is truly OOAK.  It took quite some to take apart the cami.  There was a pintuck section on the top that I wanted to use but had to spend a lot of time removing the lace that was appliqued onto it.  I had to very carefully plan the placement and cut each piece out individually while matching the pattern of the fabric.  In spite of this, I still had to piece one skirt back, but you'll never find it.  I used the pintuck section for the bodice and insets in the skirt.  The original plan was to use the the lace from the bottom of the cami to edge the petticoat but, sadly, it wasn't long enough.  The tie belt is from the cami underbust drawstring.  The hat began as a buckram form that I created on a styrofoam ball and cut to shape.  After I stitched wire to the edge, it was covered with fabric and I bound the edge with a bias binding of the same fabric.  The trim is the insertion lace that held the drawstring.  The dress is fully lined in silk/cotton voile and closes with snaps in the back.  Dress and hat are available for $140 plus $6 boxed shipping in the US.  Email me at nwickman@chartermi.net if interested.